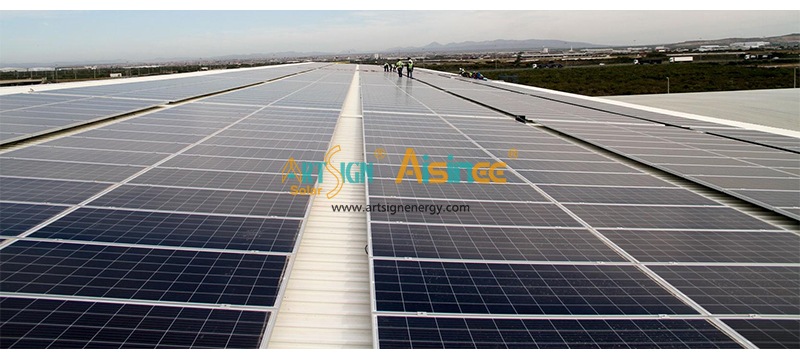
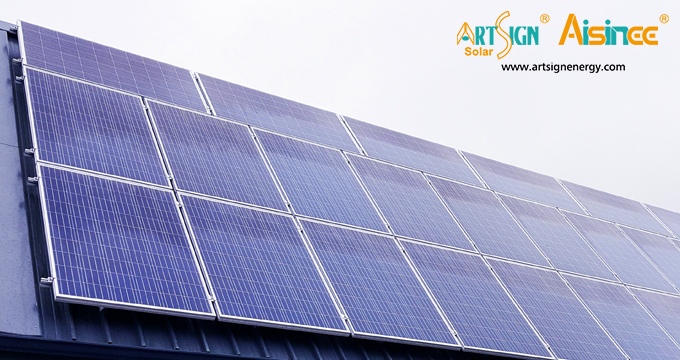
كشخص محترف للغاية مُصنِّع حوامل الطاقة الشمسية نحن ماهرون للغاية في تصميم وإنتاج مختلف حوامل الطاقة الشمسية لتلبية متطلبات السوق. يجمع دمج أنظمة الطاقة الشمسية مع أسقف القرميد بين الاستدامة والأناقة المعمارية. تتطلب أسقف القرميد، المعروفة بمتانتها ومظهرها الكلاسيكي، حلول تركيب متخصصة للحفاظ على سلامتها مع تعظيم كفاءة الطاقة الشمسية. يستكشف هذا الدليل الشامل عملية تثبيت الألواح الشمسية على أسقف القرميد، مغطيًا الأدوات والتقنيات الأساسية وأفضل الممارسات لضمان تركيب آمن وطويل الأمد. هياكل تركيب الطاقة الشمسية الكهروضوئية .
الحفاظ على جماليات السقف: تمتزج البلاط الشمسي الحديث وأنظمة تركيب الطاقة الشمسية منخفضة الارتفاع بسلاسة مع تصميمات البلاط التقليدية.

عملية التثبيت خطوة بخطوة
الخطوة 1
:تخطيط وتصميم النظام
اختر خطافات السقف الشمسية / أقدام L الشمسية المناسبة وفقًا لنوع سقفك المبلط ، نظرًا لأن لدينا خطافات سقف من الألومنيوم وخطافات سقف من الفولاذ وأقدام L من الألومنيوم ، يجب اختيار أفضل خطافات السقف للتثبيت.
الخطوة 2: تثبيت أدوات التثبيت
نظام قائم على السكك الحديدية:
يؤمن
قضبان الطاقة الشمسية المصنوعة من الألومنيوم
إلى السطح باستخدام خطافات سقف الطاقة الشمسية المصنوعة من الفولاذ المقاوم للصدأ/أقدام الطاقة الشمسية L.
قم بربط القضبان بخطافات التثبيت L-feet/الطاقة الشمسية، مع ضمان المحاذاة والاستقرار.
استخدم المشابك الشمسية لتثبيت الألواح على قضبان التثبيت الشمسية، مع ترك فجوات للتمدد الحراري.
نظام بلا سكك حديدية:
قم بتثبيت الألواح مباشرة على البلاط باستخدام حوامل الطاقة الشمسية المتخصصة.
قم بتأمين الألواح باستخدام مسامير مقاومة للتلاعب، وتجنب تشققات البلاط.
البلاط الشمسي:
استبدال البلاط التقليدي ببلاط الطاقة الشمسية، وربطهما على التوالي.
يتكامل مع الأسلاك المخفية للحفاظ على خط سقف نظيف.
الخطوة 4: التكامل الكهربائي
الأسلاك:
قم بتوصيل الألواح عبر موصلات MC4، وتوجيه الكابلات من خلال فتحات السقف المختومة بالومض.
تركيب العاكس: ضع العاكس بالقرب من اللوحة الكهربائية الرئيسية، مع ضمان التهوية المناسبة.
النسخ الاحتياطي للبطارية (اختياري): قم بتثبيت بطاريات ليثيوم أيون لتخزين الطاقة الزائدة.
الخطوة 5: عمليات التفتيش النهائية والتفعيل
التحقق الهيكلي:
تأكد من تثبيت جميع حوامل الطاقة الشمسية بشكل آمن ومن توزيع الألواح بشكل متساوٍ.
الاختبار الكهربائي:
استخدم مقياسًا متعددًا للتأكد من الجهد وجميع وظائف نظام التركيب الشمسي.
موافقة المرافق:
التنسيق مع شركة المرافق لتفعيل قياس الشبكة وربطها بالشبكة.

لأي استفسار عن نظام تركيب الألواح الشمسية، يرجى الاتصال بنا،
بريد إلكتروني:
sales@artsign.net.cn
، واتساب / وي شات / سكايب: +86 18396005809
، شكرًا لك.
Unit 301, No. 600 Guankou South Road, Jimei District, Xiamen, China
هاتف : 0086 592 6266951 0
Whatsapp :+8618030235875
بريد إلكتروني : sales@artsign.net.cn
Teams : Artsign Energy